Hi
there! Welcome to my shiny, new, amazingly designed blog, courtesy of the
extremely talented Alexis at Laugh Eat Learn Designs. I am so excited for this
new adventure! A blog debut calls for sharing one of my all-time favorite
projects to do with my kiddos, so here goes!!


I
first learned about this project, Electric City, from a wonderful hands-on
science gal named Maureen at the Orange County Dept. of Education. When I was
teaching science, I would do this with the fourth grade classes, and after 2
years of 7 or 8 classes, I worked out some kinks and now have a pretty
fine-tuned system! This was previously a culminating project tied to our 4th
grade “Magnets and Electricity” unit, but it transfers so well to the new NGSS
engineering standards.

I
begin by teaching or reviewing the concepts of electricity and circuits –
conductors, insulators, schematic design, open and closed circuits, etc. The
interactive notebook set from The Science Penguin is perfect for this!
Once
the students have a solid background of circuits, we jump right in and put our
knowledge together to create our awesome city! With my science classes, I was
able to complete this project in 3 one-hour class periods. With my 5th
grade homeroom, we stretched it out a bit and did shorter periods throughout
one week. I was also SO grateful for parent helpers this year – cutting windows
and stripping Christmas lights is a daunting, callous-inducing task!! Totally
worth it, though!
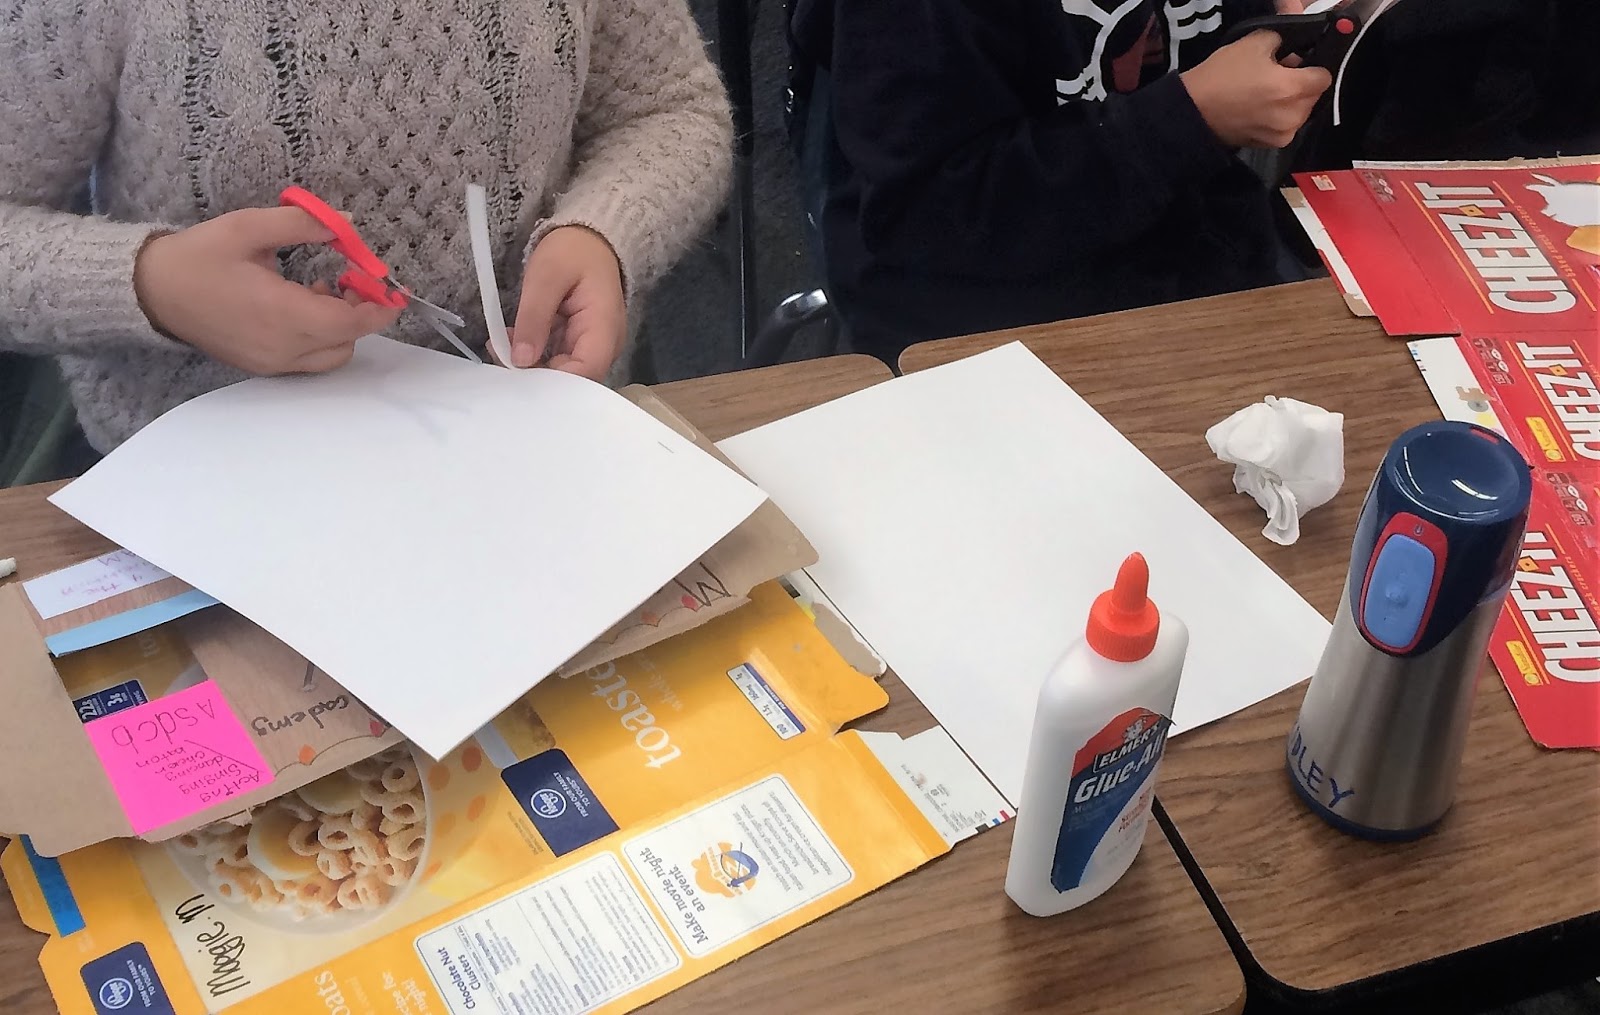
Our
first step is to bring in empty cereal or large cracker boxes, and turn them
inside out.


The
students then choose a large panel on the blank side to design their home or
storefront. They are so creative!
I
let the students know they can choose 3 – 4 spots for us to cut out as windows,
and they mark each one with an “X”. With an X-acto knife or box cutter, parent
volunteers and I cut out the windows and cut open the doors.

Once
our boxes are designed and cut, we review circuits. I then hand out the 3-bulb strand
of Christmas lights (pre-stripped by a wonderful parent volunteer!) as well as
a 9V battery and a snap cap (available at Radio Shack or in bulk from various
online retailers). *Note: I have found that the Dollar Tree 9V batteries pictured above work
best for me! I bought them because I could get a class set for under $20, but
asked for parent donations of batteries one year. The big brand names were too
powerful for our little homes, and were getting really hot! I would recommend
just being extra careful with the powerful batteries!

Once
the students have their supplies, I ask them to use their electrical
engineering skills to design a working circuit. As this is a basic series
circuit, most get it within a minute or two.
I
then pose the predicament: How might this simple circuit be problematic once
our box is all sealed up? We discuss and come to the conclusion that we need a
switch, since this presently has to be turned off by disconnecting wires.
I
pass out a small piece of an index card, 2 brass brads, and a paperclip and ask
them to go through the Engineering Design Process to see if they can use the
provided materials and incorporate a switch into their circuit. They swing the
paperclip (attached to only one brad) to touch or release the 2nd
brad, closing and opening the circuit.


We
then transfer all of this knowledge into our Electric City project, and affix
their circuits into their boxes using masking tape. If a length of their
circuit does not reach their switch, we add in the extra pieces of wire that
came loose from the light strands.


I
also post an “expert list” on the whiteboard, and as students successfully complete
their boxes, they add their names to the list. This helps the traffic jam
usually coming to me, since they must ask each other for help first, and frees
me up to monitor the room.
Ta-Da!
Here is our finished city. Isn’t it gorgeous?!


I’m
happy to answer any questions about this project, and I hope it inspires some
STEAM in your room!