Mathematical Mindsets Chapter 1


Happy Thursday teacher friends! I am so excited to be linking up with some other fabulous educators to dig into Mathematical Mindsets by Jo Boaler. You’d think now that I’m done with my masters, I’d run in the opposite direction of teaching texts, but I love being a lifelong learner and finding ways to continue improving my teaching. It’s also liberating to read freely with no deadlines or papers!! J
I hope you’ll continue to join us by reading along and sharing your thoughts in the comment section below. We'll be reading a chapter a week (very doable for summer learning!) if you’d like to follow along with us!

Chapter One - The Brain and Mathematics Learning

Chapter one focused on the ways in which our brain can GROW, and how we can use this knowledge to re-frame our teaching, especially when teaching mathematics. There’s a common misconception that some students will just never be able to "get" higher level math concepts. I myself struggled to believe I was good at math, and never went past Algebra 2 in high school.

Dr. Boaler shares some great insights on how incorporating the idea of growth mindsets to how we (and our students) approach math can make a HUGE difference in achievement. Recent research shows that our brains can actually change and grow, even over short periods of time!

So how do we, as teachers, structure our math sessions to help our students’ brains GROW and their math confidence to follow?  Dr. Boaler points out that “if brains can change in 3 weeks, imagine what can happen in a year of math class if students are given the right math materials and they receive positive messages about their potential and ability.”


What was my big takeaway from Chapter One?


GROWTH PRAISE! I’m sure by now many of you have heard of Growth Mindset or seen some of the awesome resources on Pinterest and TPT related to teaching students the impact of mindset. Here is Carol Dweck’s TED Talk in case you haven’t seen it…it’s inspiring!


A big idea with mindset is how we need to phrase our praise. “Fixed praise” is when we tell students they are “so smart.” This poses a challenge, because they felt good for being smart on a particular assignment or activity, but if they struggle on the next one they may rethink their “smarts.” Even worse, students may not try more challenging activities for fear of failing and no longer being seen as “smart.” This is why the idea of “growth praise” such as “That is an amazing piece of work” or “You have really thought deeply about this!” struck a chord with me. I will definitely be watching how I phrase my praise!

3 tips to implement:

--ONE--

Growth Praise! I can’t stress it enough.

--TWO-- 

No negative math comments, even if they are meant in kindness (“It’s okay, I know this is hard” or “I was bad at math in school too”) I am for sure guilty of this!

--THREE-- 

Keep encouraging a growth mindset in math, and keep working hard to model my own mathematical growth mindset!

I hope you enjoyed reading and want to keep joining us to learn more tips for encouraging a shift in mathematical mindsets! Don’t forget to comment below to share your thoughts if you’re following along, and check out these other wonderful insights about Mathematical Mindsets. See you next Thursday!


Welcome to Electric City!


Hi there! Welcome to my shiny, new, amazingly designed blog, courtesy of the extremely talented Alexis at Laugh Eat Learn Designs. I am so excited for this new adventure! A blog debut calls for sharing one of my all-time favorite projects to do with my kiddos, so here goes!!


I first learned about this project, Electric City, from a wonderful hands-on science gal named Maureen at the Orange County Dept. of Education. When I was teaching science, I would do this with the fourth grade classes, and after 2 years of 7 or 8 classes, I worked out some kinks and now have a pretty fine-tuned system! This was previously a culminating project tied to our 4th grade “Magnets and Electricity” unit, but it transfers so well to the new NGSS engineering standards.


I begin by teaching or reviewing the concepts of electricity and circuits – conductors, insulators, schematic design, open and closed circuits, etc. The interactive notebook set from The Science Penguin is perfect for this!

Once the students have a solid background of circuits, we jump right in and put our knowledge together to create our awesome city! With my science classes, I was able to complete this project in 3 one-hour class periods. With my 5th grade homeroom, we stretched it out a bit and did shorter periods throughout one week. I was also SO grateful for parent helpers this year – cutting windows and stripping Christmas lights is a daunting, callous-inducing task!! Totally worth it, though!

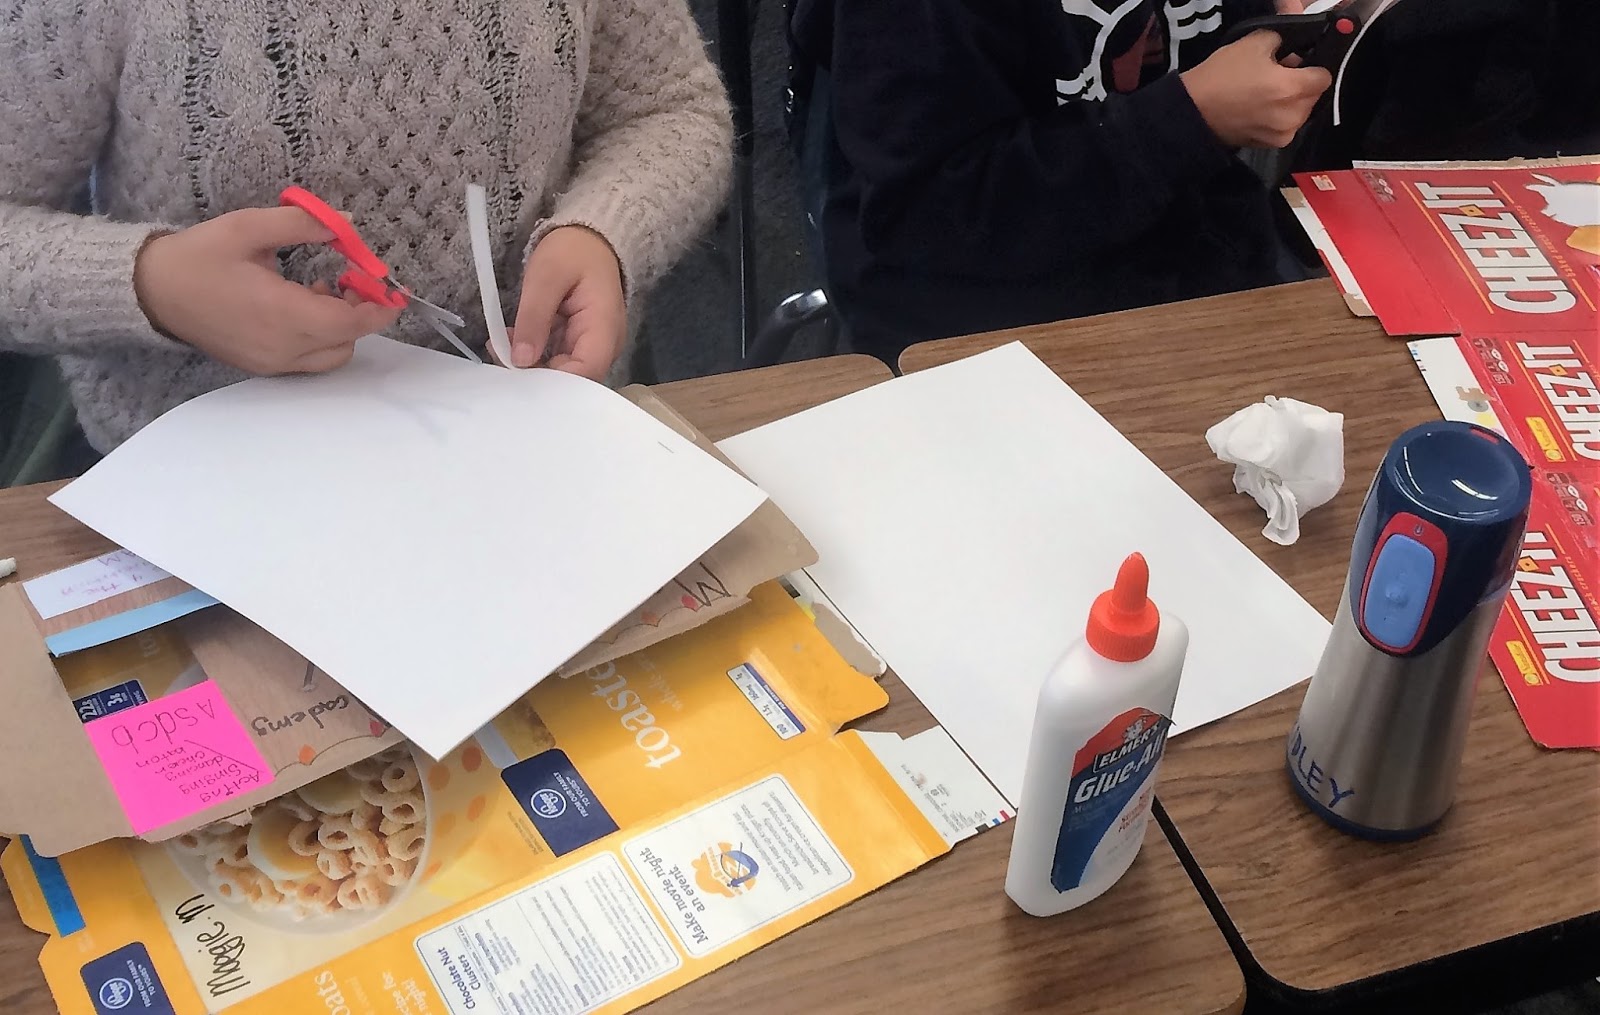
Our first step is to bring in empty cereal or large cracker boxes, and turn them inside out.


The students then choose a large panel on the blank side to design their home or storefront. They are so creative!

I let the students know they can choose 3 – 4 spots for us to cut out as windows, and they mark each one with an “X”. With an X-acto knife or box cutter, parent volunteers and I cut out the windows and cut open the doors.

Once our boxes are designed and cut, we review circuits. I then hand out the 3-bulb strand of Christmas lights (pre-stripped by a wonderful parent volunteer!) as well as a 9V battery and a snap cap (available at Radio Shack or in bulk from various online retailers). *Note: I have found that the Dollar Tree 9V batteries pictured above work best for me! I bought them because I could get a class set for under $20, but asked for parent donations of batteries one year. The big brand names were too powerful for our little homes, and were getting really hot! I would recommend just being extra careful with the powerful batteries!


Once the students have their supplies, I ask them to use their electrical engineering skills to design a working circuit. As this is a basic series circuit, most get it within a minute or two.
I then pose the predicament: How might this simple circuit be problematic once our box is all sealed up? We discuss and come to the conclusion that we need a switch, since this presently has to be turned off by disconnecting wires.

I pass out a small piece of an index card, 2 brass brads, and a paperclip and ask them to go through the Engineering Design Process to see if they can use the provided materials and incorporate a switch into their circuit. They swing the paperclip (attached to only one brad) to touch or release the 2nd brad, closing and opening the circuit.


We then transfer all of this knowledge into our Electric City project, and affix their circuits into their boxes using masking tape. If a length of their circuit does not reach their switch, we add in the extra pieces of wire that came loose from the light strands.


I also post an “expert list” on the whiteboard, and as students successfully complete their boxes, they add their names to the list. This helps the traffic jam usually coming to me, since they must ask each other for help first, and frees me up to monitor the room.

Ta-Da! Here is our finished city. Isn’t it gorgeous?!


I’m happy to answer any questions about this project, and I hope it inspires some STEAM in your room!

Engineering for Kids - Parachute Design

Alrighty guys, I have to admit I am hesitant to post this because my blog is brand new and still isn’t looking exactly how I’d like it! I absolutely cannot wait for my blog design by the amazingly talented Alexis at Laugh Eat Learn designs, but something is telling me to just start sharing my ideas in the meantime.  So here goes…my very first “curriculum-related” blog post!

I spent a few weeks these past two summers designing curriculum for our Summer Engineering Academy. I am a coach for the kindergarten classes, which means I design the lessons based on our district-adopted “Engineering is Elementary” (EIE) program and help the teachers implement them in our three week long summer school class. While EIE is an AMAZING program with such well-designed, easy-to-follow units, they definitely needed to be modified for kindergarten. While I’m still fine tuning our Submersibles unit, I am pretty proud of how the Parachutes unit turned out.

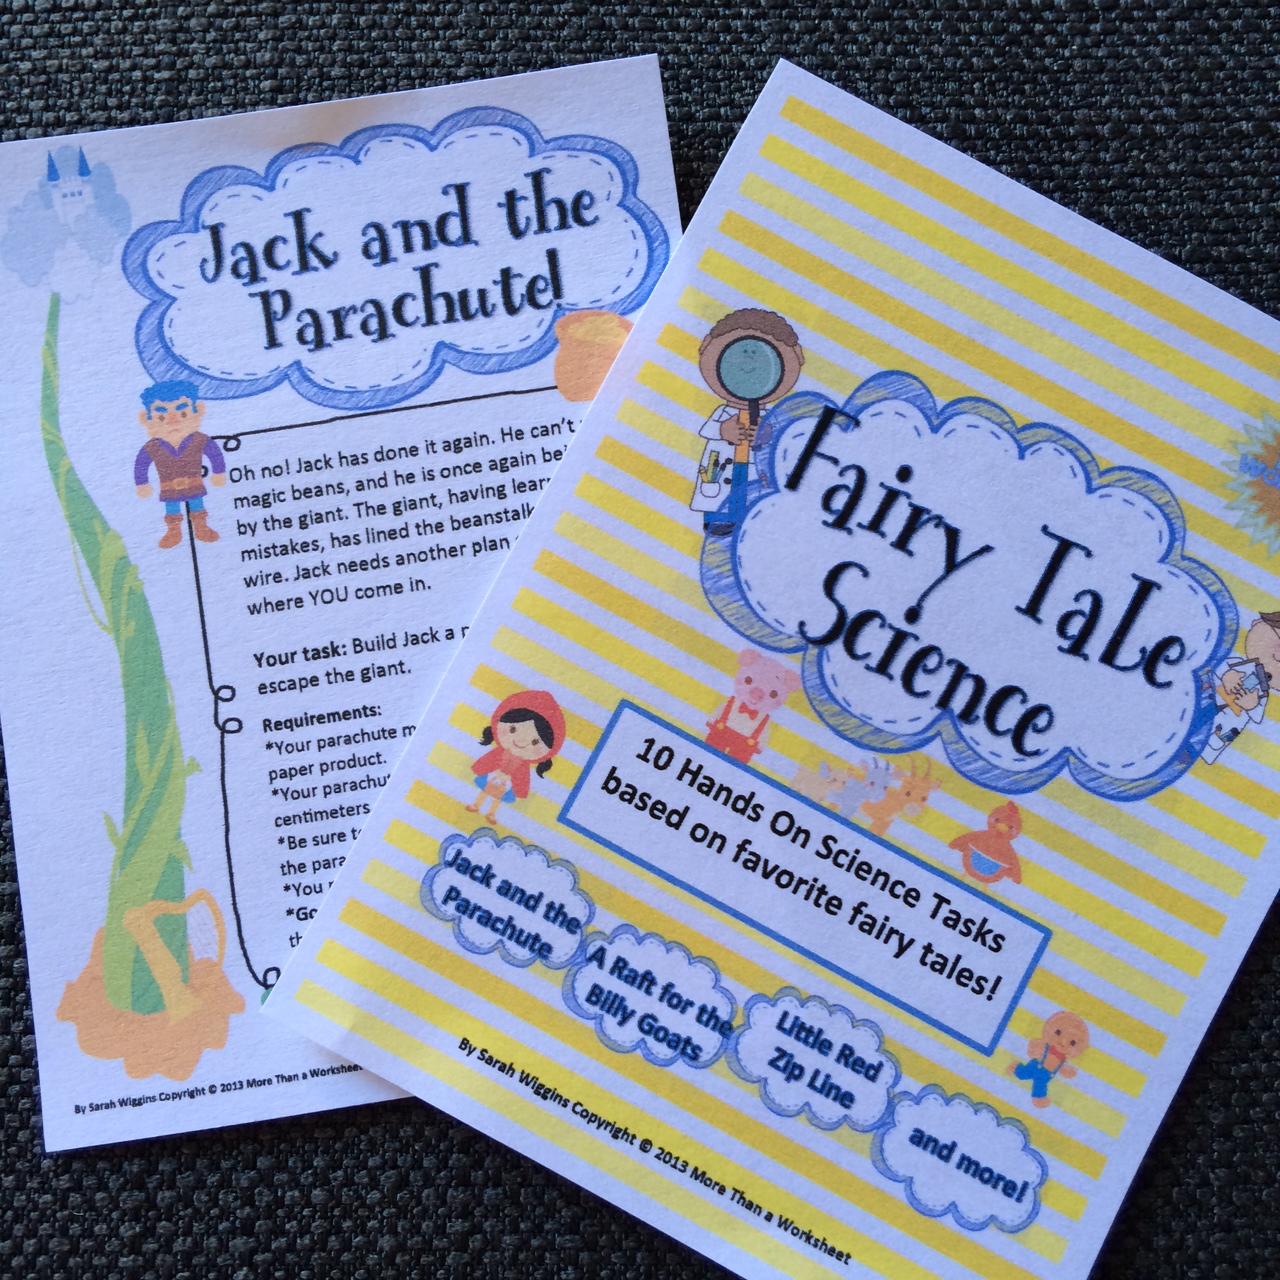
I used More Than A Worksheet’s “Jack and the Parachute” from the Fairy Tale STEM packet as inspiration while still integrating the content, vocabulary, and Engineering Design Process outlined in the EIE curriculum. The kids have had a blast and have really been applying their parachute vocabulary as they work through the steps of the Engineering Design Process.


Below are some images and descriptions of how this Parachute mini-unit was structured, and I hope it provides some inspiration for you to jump on the Engineering train, even with the little guys! Oh and if you haven’t already checked out More Than A Worksheet on Teachers Pay Teachers, go now! She’s got some seriously awesome, themed STEM activities that are always a hit with my students.

So the premise of the Jack and the Parachute unit is that Jack needs a way to get safely to the ground after the beanstalk has been lined with barbed wire by the Giant. After frontloading some parachute vocabulary, the students determine that a parachute can be a useful solution. The EIE unit is a lot more complex, but ultimately has the students designing and testing parachutes with different variables to determine the safest (slowest) design.


I made this simple anchor chart which the students copied to introduce the parachute vocabulary.

We then talked about varying canopy size, and followed the Engineering Design Process to create and test parachutes with various sized coffee filters. The suspension lines were all the same, as were the loads (one small bulldog clip…binder clips have grooves that let the lines slip out). I also made these fill-in worksheets for students to track progress for each variable.

One of my awesome team members, Sara, made this great anchor chart to track student predictions:
The next variable was canopy material, followed by suspension line length. 


We timed 3 parachute trials for each variable, and graphed the averages. 


After discussing, students used this recording sheet I made to note the three variables that would slow Jack down the most, helping him to safely escape the giant! 

The mini-unit culminates with the students designing a parachute based on the data (and, let’s be real, their own preferences!), which they get to take home.


I love seeing the vocabulary growth and engineering interest that stems (hehe, pun intended!) from activities like these. Please feel free to ask any questions regarding this unit. I’m happy to help more students gain exposure to elementary engineering!

Resources:
Engineering is Elementary – www.eie.org

“More Than A Worksheet” on Teachers Pay Teachers


Welcome!

Hi there! My name is Lorraine and I am a 5th grade teacher in California. I absolutely love teaching, making hand-painted signs and lots of other crafts, and I may be *slightly* obsessed with Harry Potter and Disney! I am super excited for this new blogging adventure. Stay tuned as I build this page and share my ideas!